
What is an HTML File?
An HTML, Hyper Text Markup Language, File is a text-only document that contains the structure of a website, including highly interactive content that’s designed to be viewed on a web browser. Hyper Text Markup Language is used to create and structure webpages, and the files containing the code are called HTML files.
HTML files are highly interactive because they can be rendered on any web browser regardless of the device, making them very mobile-friendly. Moreover, if more than one developer is working on your website, HTML files are a great way to distribute content among them.
HTML files are also great for creating customized content that your current WordPress theme may not offer natively.
We are clear on what is an HTML file, but why do we need to add it to our WordPress? Let’s find out.
Why Upload an HTML file to WordPress?
While building or growing a WordPress site, adding HTML files to it can be helpful for you and can save significate time. Whether you want to add new customized content or you want to use pages and content from your older website, adding an HTML file to WordPress can save a lot of your important time.
WordPress is not just a website builder but also a Content Management System. You can very well create and design a professional-looking website without going through the hassle of creating every single page of your website. Thanks to WordPress themes and tools like Elementor, you can create pages with pre-designed themes without knowing any coding.
Then why do you need to add an HTML file at all? Well, you might consider if:
- You want customized pages beyond a theme.
- You don’t want to rebuild pages from scratch.
- You want to make the verification process easier with services like Google Search Console.
We now know, why we need to upload an HTML file to WordPress. Let’s move on to how we can do that.
Also Read: How to Install SSL on WordPress?
How to Upload an HTML file to WordPress?
Word of Caution: Before adding an HTML file to your WordPress, make sure to take a backup of your website. Our first priority is the valuable data of your website, and if anything goes wrong down the line, we need to be sure that we are not losing the data.
You can add the HTML via 3 methods, and all of them are simple.
-
Through WordPress Dashboard
You can use the WordPress Visual Editor to quickly add HTML files to your website. To access the Visual Editor,
Step I: Navigate to your Admin Dashboard.
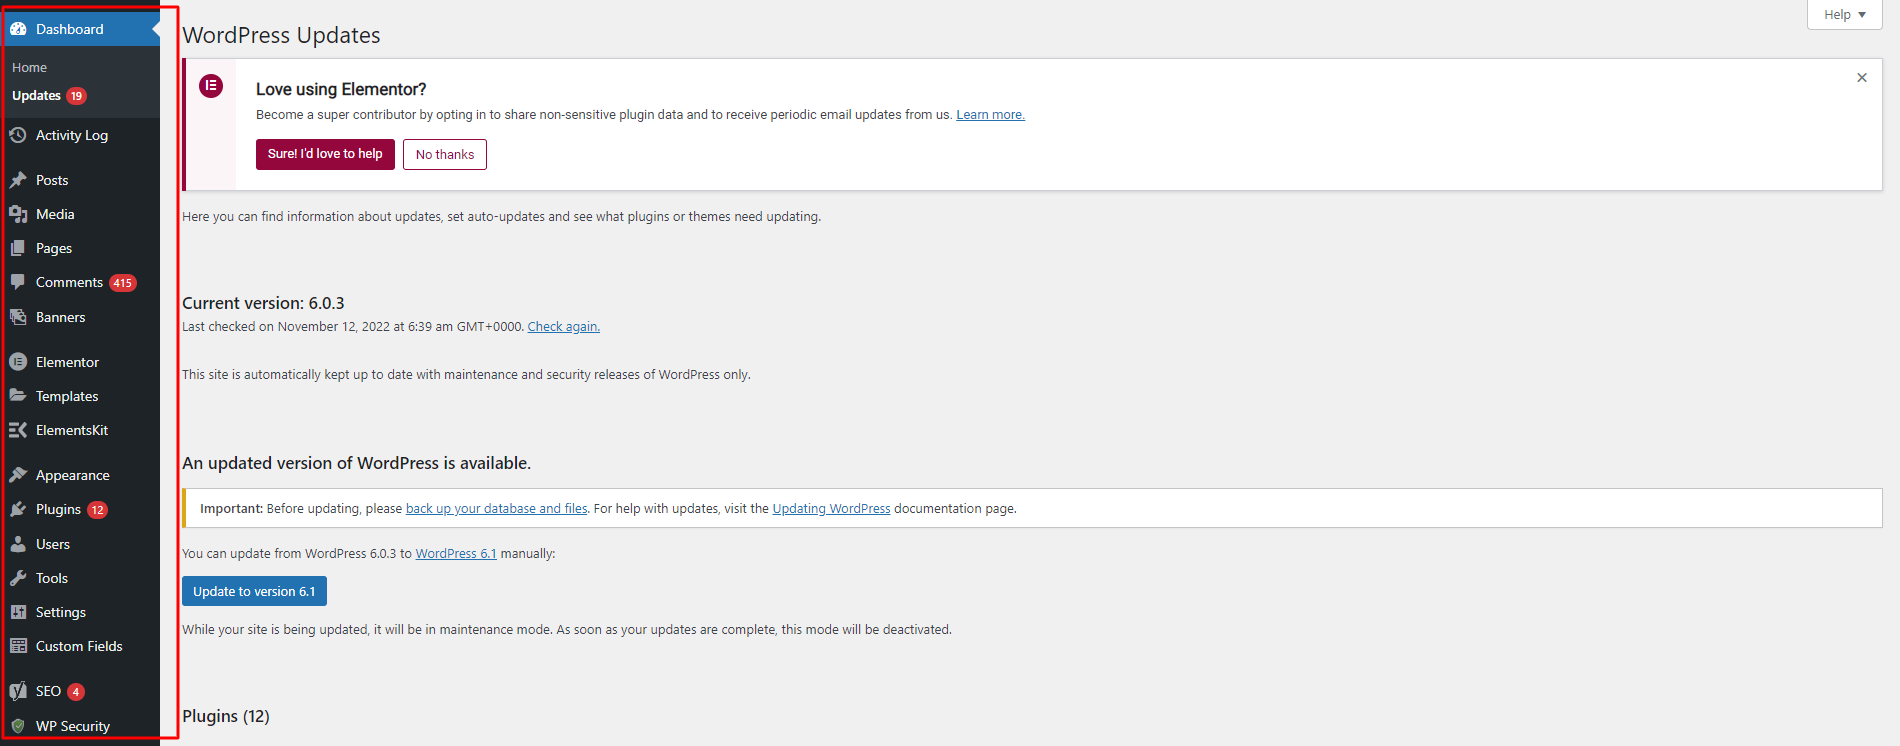
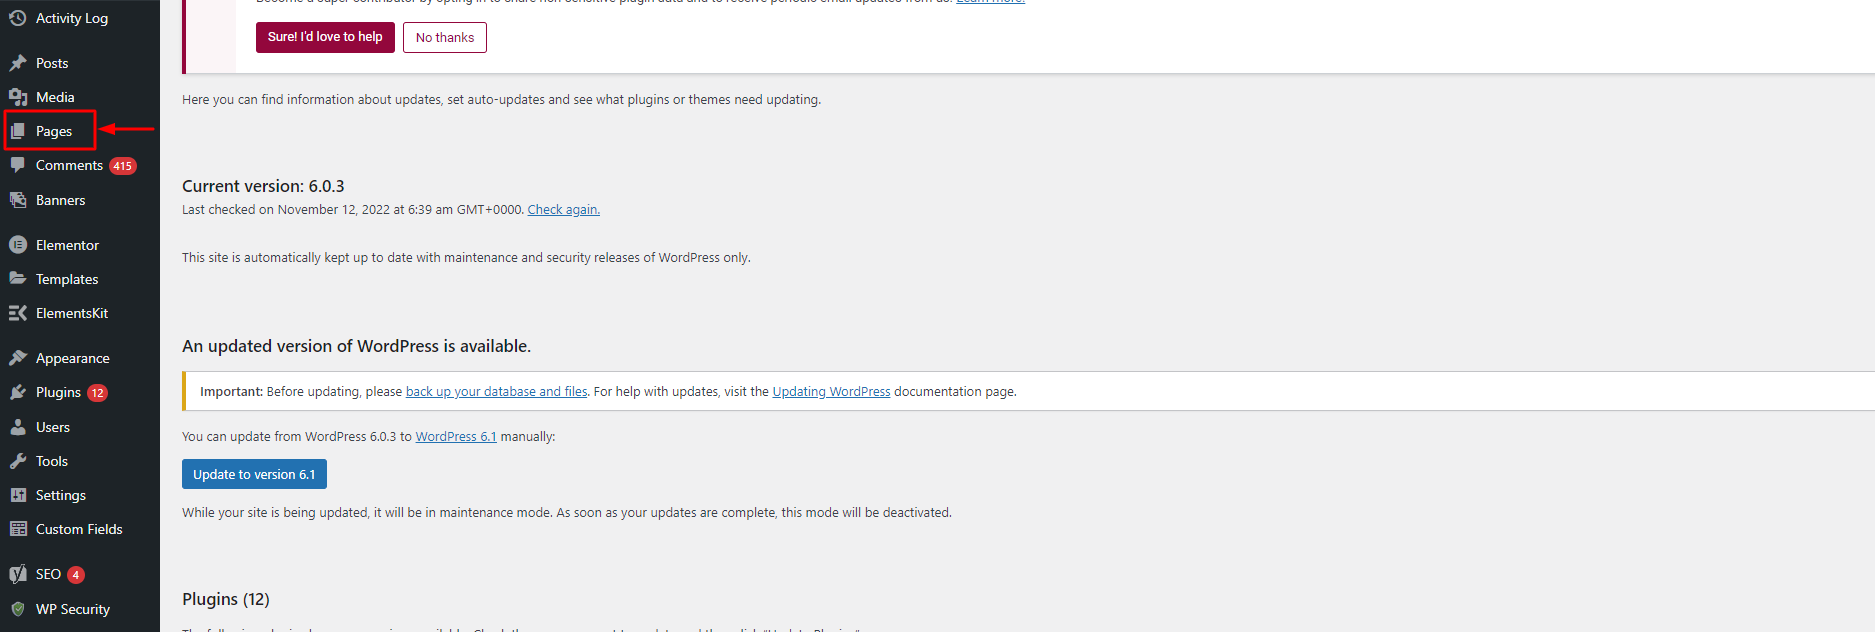
Step II: Click the option labeled “Pages” on the left-hand sidebar.
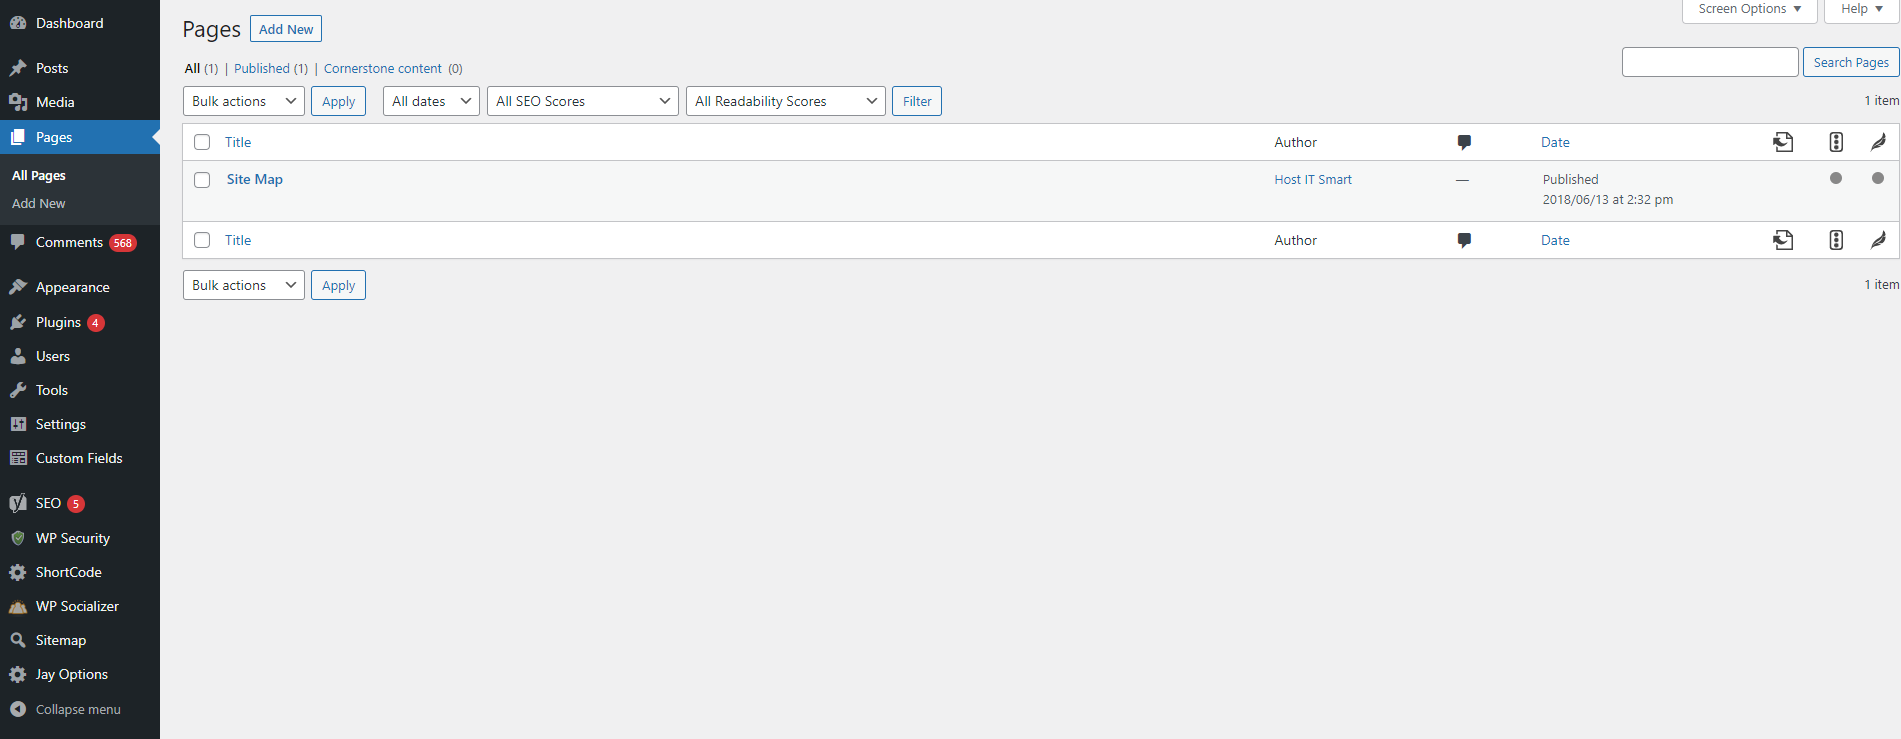
Step III: You’ll see two options for editing an existing page and adding a new page. To edit an existing page, click on the post name itself, and the editor will load immediately.
If you wish to add a new page, click on the button next to “Pages” labeled “Add New”
Step IV: Once you’ve opened the Visual Editor, click the option “add block” on the top left. This will open a drop-down menu.

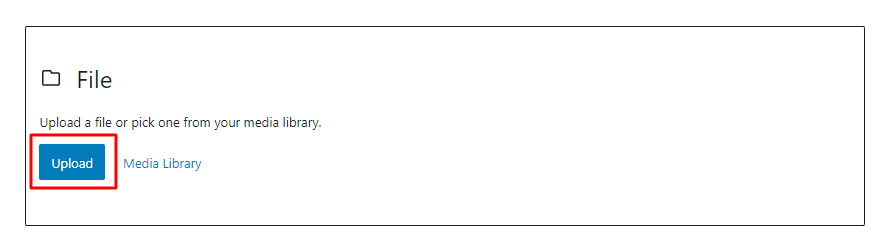
Step V: Using the search bar on the top of the drop-down, search for the term “File”. Then, click on the option “File” to upload a new File.

Alternatively, you can also search “HTML”, this will allow you to input custom HTML, but you’ll have to copy and paste it manually into a code block.

Step VI: Click on the button “upload” in the module. Upload the file.
You’ve successfully uploaded an HTML file to WordPress.
Also Read: How to access wordpress dashboard from cPanel
-
Through cPanel
Step I: Login to your web host account and open cPanel.
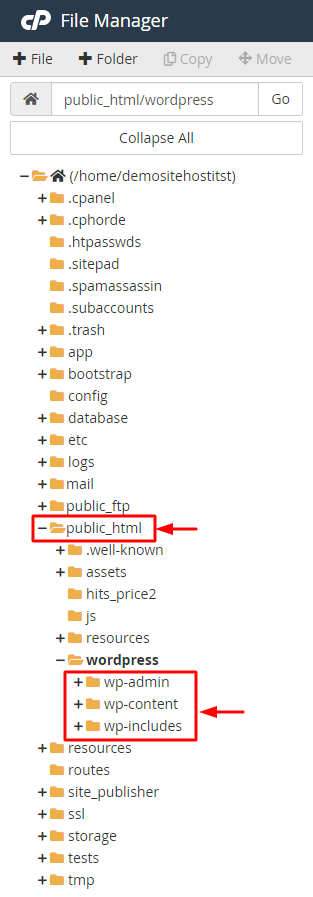
Step II: Click on “File Manager”.

Step III: Open the folder labeled “public_html”. This folder should contain three more folders called “wp-admin”, “wp-content”, and “wp-includes”.
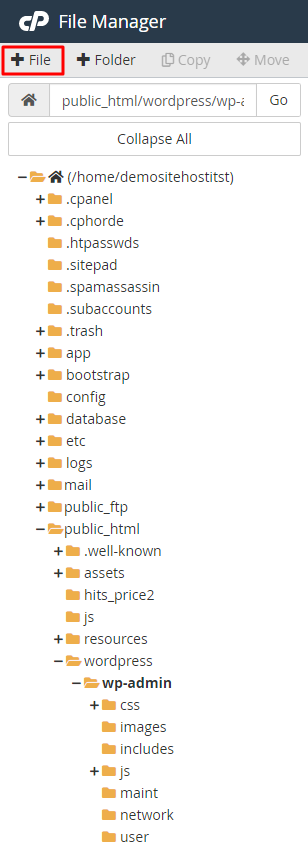
Step IV: Click on the “+ File” option in the top bar menu to add a new file.
Step V: Upload your HTML file here.
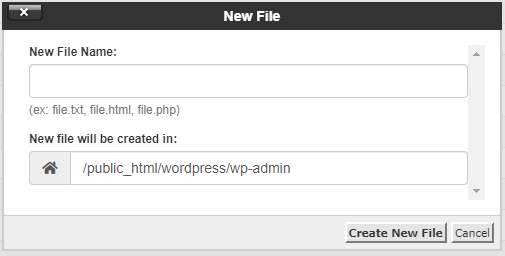
You’ve successfully uploaded your HTML file to your website.
Also Read: What is FTP & How to Create an FTP Account In cPanel?
-
Through FTP
FTP or File Transfer Protocol is third-party software that can be used to connect to your web server and access your website’s files and folders. We are going to be using Filezilla FTP as it is the most commonly used software.
Step I: Download and Install Filezilla on your computer.
Step II: Open Filezilla and enter your FTP credentials that comprise a hostname, username, password, and port number. (If you don’t have your FTP credentials, you can contact your web host).
Step III: Click on the button labeled “QuickConnect”.

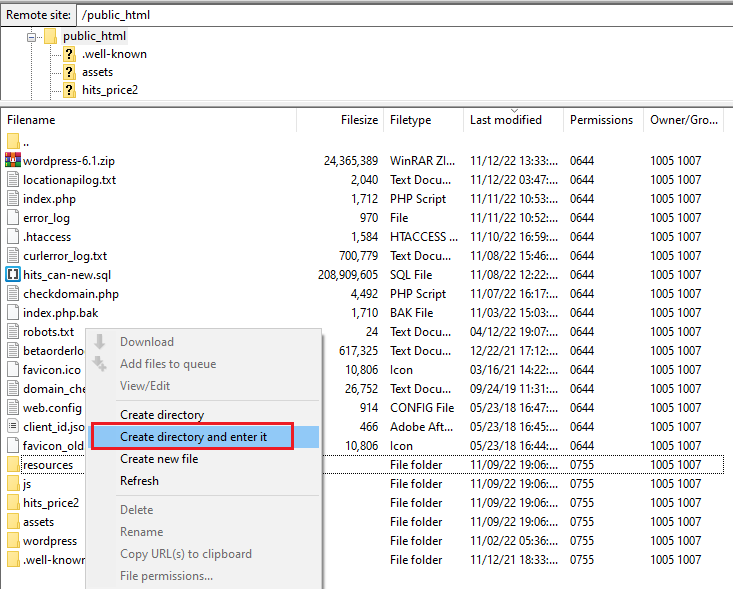
Step IV: After establishing the connection, the left panel labeled “Local Site” is your computer, and the right panel labeled “Remote site” is our website. Go on to the right-side panel and open the folder “public_html”.
Step V: Create a new folder by right-clicking on it and selecting “Create Directory and Enter it”.
Step VI: Select the HTML files on the left-hand panel you want to upload, right-click on the files, and select “Upload”.
This process can take time; wait for it to complete uploading.
You’ve successfully uploaded your HTML file to your website.
Also Read: How to check if FTP port 21 is blocked
Conclusion
Here, we’ve talked about what is an HTML file, why we want to upload it to your WordPress website, and how to do it. There are several methods to do so; you can choose whichever you like and whichever you find easy and simple.
Now you’ve successfully uploaded the HTML file and learned a new thing.
Keep Learning!