
Introduction
PHP stands for Hypertext Preprocessor.
PHP is predominantly a general-purpose programming language. Irrespective of the industry, PHP is widely used to develop websites and web-based applications.
This knowledgebase (blog) will deal with creating a phpinfo file and also viewing the current PHP Information. The popularity behind using PHP for web development is its large reserve of environmental variables and in-depth and complex levels of sophistication. Software developers can use these variables and amend their values to their advantage.
What is the purpose of creating a PHPinfo File?
As a web developer, it is important to understand the environmental variables that PHP offers conceptually. The simplest way to understand them is by creating a phpinfo file in your public_html directory.
This file will display all your PHP environmental settings along with their values. Changing these values can always take the back seat.
Also Read: How To upload website Files and Database Using cPanel
Stage 1
How to Create PHP Info File?
Let us dive deep into creating a PHPinfo.php file.
The cPanel is your gateway to creating a PHPinfo file.
Stick to the following steps:
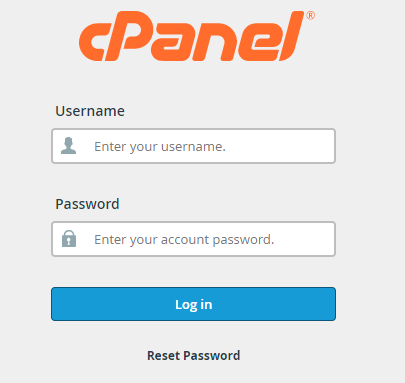
- Log into your cPanel
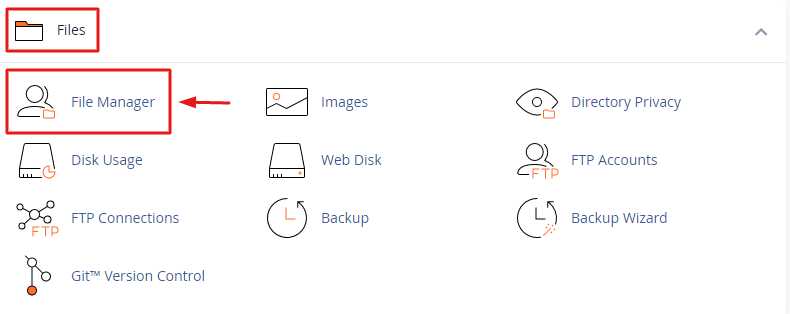
- Locate the File Manager under the Files section in your cPanel.
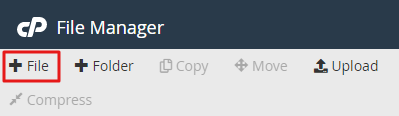
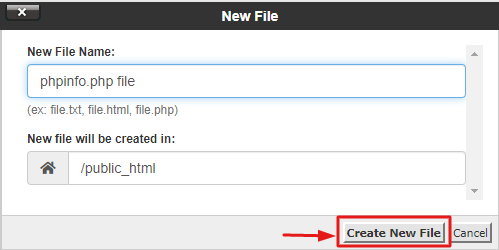
- Open the Public_HTML Directory. Click on the New File icon.

- Press the ‘Create’ button to create the phpinfo.php file.
- Search for the newly created “phpinfo.php” file within the public_html directory.
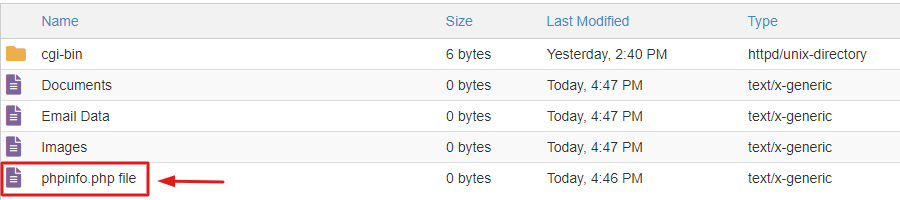
- Press Right-click to ‘Edit’ this file.
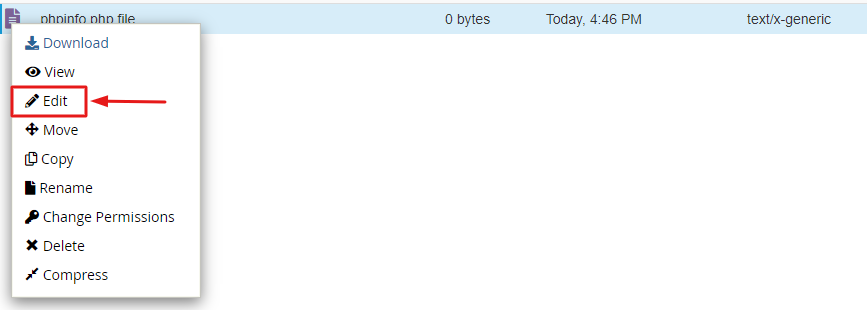
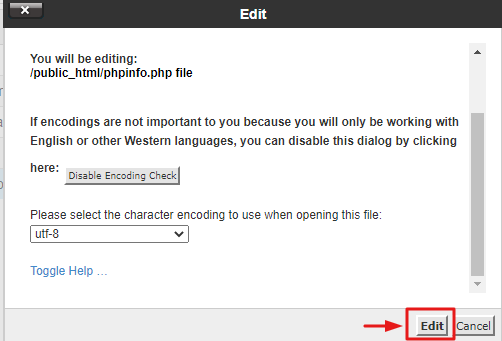
- This will open the ‘Text Editor’ within the file, where you should paste the following code and press ‘Save’ to save the file.
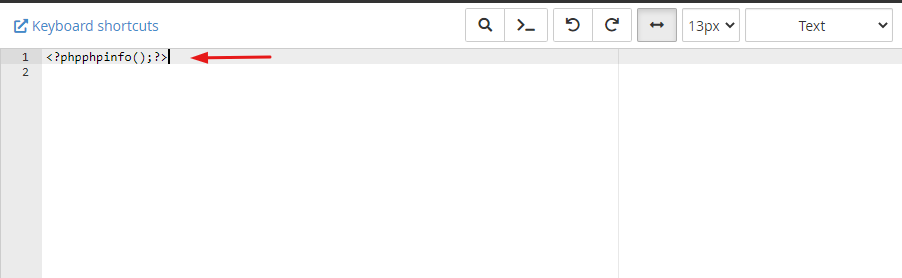
Code:
<?phpphpinfo();?>
Also Read: How to Add a New Domain To Cpanel?
Secret Tip:
Here is an easier way to create a phpinfo.php file.
- Open the text editor on your computer.
- Copy the above code and paste it into the new open file.

- Click on ‘Save As’ from the File Menu, name it ‘phpinfo.php,’ and close the file.

- Open FileZilla, your FTP client. Establish a secured connection with your server using the FTPS protocol.
- Locate and open the public_html directory on your server.

- Transfer the newly created phpinfo.php file to the public_html directory.

Also Read: How to Connect to FTP Using FileZilla on Windows
Stage 2
How to View PHP Info File/Settings?
Now that you have created the phpinfo.php file in your public_html directory let’s view it.
All you need to do is open your browser, type https://mycompany.com/phpinfo.php in the address bar, and press Enter. Please replace mycompany.com with a real domain name. You will see a screen similar to the following screenshot.

As stated above, the phpinfo.php file comprises many environmental settings alongwith their values. The screen will display these environmental settings with their respective values in the 2 adjacent columns.
- The 1st column displays the Local Value set for the current directory.
- The 2nd column displays the Master Value for that environmental setting.
It is important to know that Local Value is the real key value. As long as the Local and Master Values are the same, you need not worry. But any change to the Local Value will automatically override the Master Value. Hence do not be misled by the word Master Value.
Note:
You can use the key combination of Ctrl+F from your browser to search for the environmental setting of your choice.
Hide and Seek Tip:
The file name phpinfo.php is highly common in the industry.
Remember that your file has a host of settings (and values), and you wouldn’t wish them to go public. It is very much possible that one of the tracking bots might pick up your file name and use it for a purpose. You have 2 options to escape from this awkward situation.
You may either delete this file (not recommended) once the purpose is served OR rename the file to something else, rendering it useless for the bots. You may rename it to phpinfo_unavailable.php or phpinfo_old.php, or phpinfo_obsolete.php.
You may need to hide (preserve) the new file name elsewhere in case you wish to seek it in the future.
Also Read: NGINX Explained! Know its Working & What is it Used For?
To Wrap Things Up,
We hope this knowledgebase must have helped you create a phpinfo file using your server’s cPanel OR a text editor from your local computer. You would also have a fair idea about how to view the phpinfo file and the significance of the environmental settings. You would appreciate the special tips exclusively shared for our viewers.
We would love to hear from you. Host IT Smart welcomes queries for domains, web hosting, SSL certificates, and allied products. You may drop a line at info@hostitsmart.com or chat with us, and one of our experts will be happy to help you.