
cPanel, the most used web hosting control panel, offers users a variety of features to manage & monitor their web hosting environment. As we all know, the most important aspect of website maintenance is troubleshooting errors. To troubleshoot the errors, the error log is the most valuable resource in the panel for identification of issues & to resolve them.
In this article, we will go through the process of viewing the error log in cPanel!
Also Read: How to Add a New Domain To Cpanel?
Steps to View the Error Log in cPanel
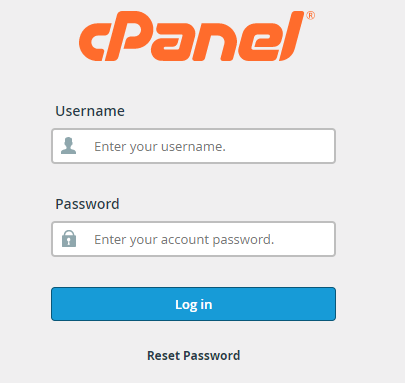
1. Log into cPanel by entering your username & password.
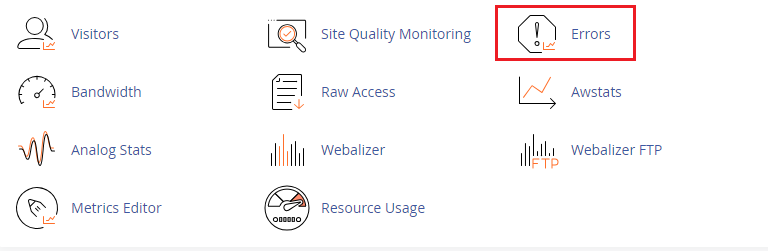
2. Scroll down to the ‘Metrics’ section on the cPanel dashboard.

3. In the ‘Metrics’ section, Look for the ‘Errors’ & click on it to open the error log.
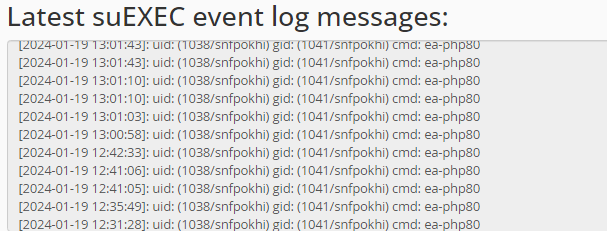
4. Once you have accessed the error log, you will see a list of the last 300 errors. The entry includes the following information:
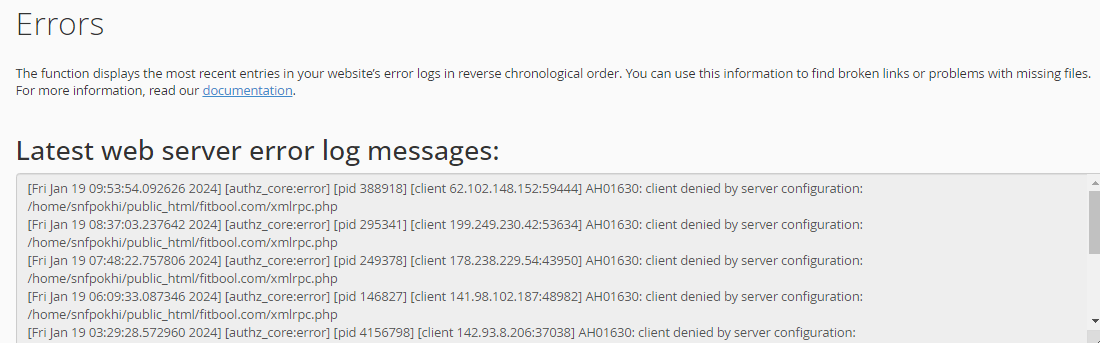
➔ It indicates the date & time of the error that occurred on your website
➔ It also specifies the type of particular error, such as 404 Not Found, 500 Internal Server Error, & more.
➔ It Provides additional information about the error that occured, helping you pinpoint the issue.
It’s time to review the error & work on resolving it.
Also Read: How to Create a Subdomain For Your Website
Conclusion
Understanding the error log is valuable for any website administrator or developer. It is advisable to regularly check and analyse the error log in cPanel to maintain an error-free website.
Following the steps described in this guide, you can easily navigate cPanel and troubleshoot your website’s issues based on the information provided in the error log.
Checking this log frequently can help keep your site running smoothly.