
Introduction
Webuzo is one of the most powerful control panels that offers an amazing interface for managing web servers and hosting environments. You can effortlessly deploy applications, managing domains, databases, and more.
If you are just starting with a website, adding domains and configuring nameservers in the Webuzo panel with root user privileges is a fundamental task for webmasters.
This article will walk you through the step-by-step process of adding a domain and configuring nameservers in the Webuzo panel using root user access.
Also Read: How to Add an Email Account in the Webuzo?
Steps For Adding Domain in Webuzo Panel
➔ Login to the Webuzo panel using your root user credentials.
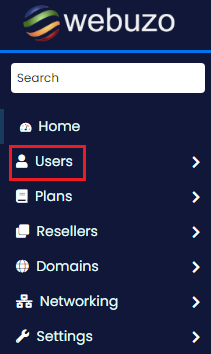
➔ Once you log in, Click on the ‘Users’ section located in the side menu.
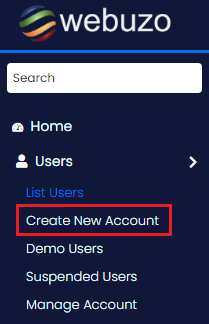
➔ Select the ‘Create New Account’ option from the dropdown menu.
➔ A page will appear; you have to fill in the required fields with accurate information like username, domain, email & password.
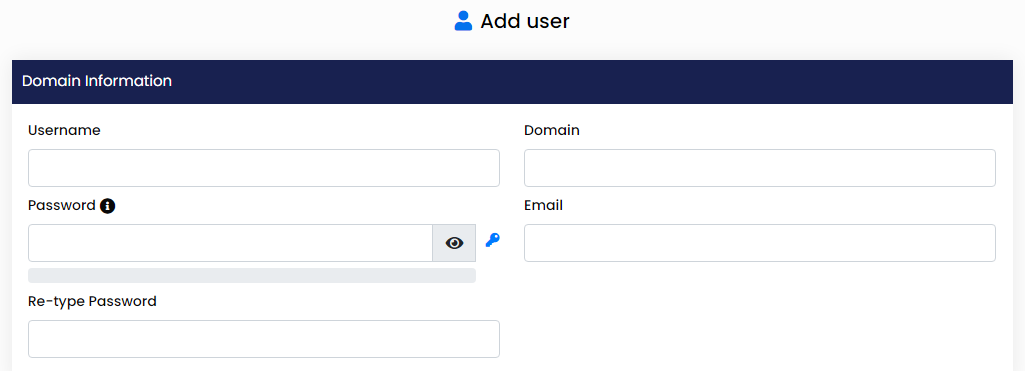
➔ After adding the details, you have to click on the ‘Save User’ button at the bottom of the page.

That’s it, your domain has been added to the Webuzo panel. Now, let’s proceed to adding nameservers for your domain.
Also Read: How to Change the PHP Version in the Webuzo Panel?
Steps For Adding Nameservers in Webuzo Panel
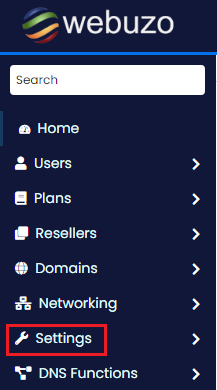
➔ In the Webuzo panel, head over to the ‘Settings’ in the menu & click on it.
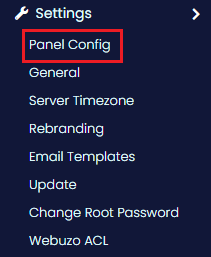
➔ Click the ‘Panel Config’ in the submenu from the dropdown opened.
➔ After that, a ‘Webuzo Configuration’ form will appear. You will need to provide the Primary IP and panel Domain, along with first & second Nameservers.
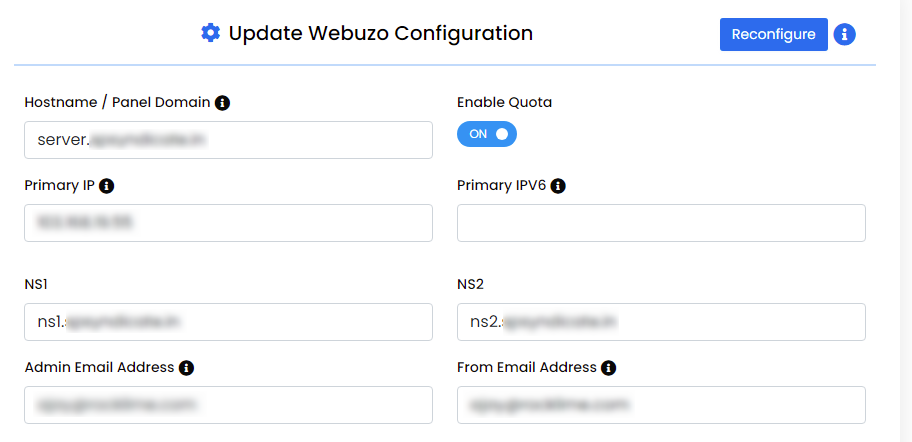
➔ Once you enter the information in the given fields, you have to click ‘Update.’
![]()
That’s how you can add nameservers in the Webuzo. It will take around 24-72 hours for the DNS changes to take effect globally, and then you can fully enjoy your hosting experience.
Also Read: How to Add or Edit DNS Records in Webuzo Panel?
Following the steps mentioned in this guide, root users can easily manage domain configurations and ensure proper DNS resolution for their hosted websites.