
In the world of web development, having a local server environment and a database is essential for testing, debugging, and managing applications before deploying them to a live server.
XAMPP is a popular choice among developers for creating a local server environment due to its ease of use and comprehensive features.
A complicated but essential component of maintaining a website is database management. Fortunately, there is software like phpMyAdmin that makes this process much simpler.
Learning how to use this popular administrative tool may appear difficult at first, but once you get the hang of it, accessing and editing your database will be a snap.
Installing and configuring phpMyAdmin on your web server is the most challenging step for most people.
In this guide, we’ll walk through the steps to install phpMyAdmin seamlessly with XAMPP on the Windows platform.
Also Read: How Do I Connect MySQL Database Via MySQL Workbench?
What are the Requirements to Install phpMyAdmin?
There are a few requirements before you can install phpMyAdmin on your web server. But these are not too tough, so you should have no trouble using the web interface.
Web Server: You’ll require a web server such as Apache or Nginx to install phpMyAdmin.
PHP: You will also need a version of PHP. Any version of PHP 7.2.5 or later will be sufficient to install the latest version of phpMyAdmin. PHP extensions like mbstring can improve the performance.
Database: phpMyAdmin supports MySQL compatible databases (MySQL version 5.5 or newer and MariaDB version 5.5 or newer).
Web Browser: phpMyAdmin is an application that runs in a browser, so you will also need a web browser of your choice. Cookies and JavaScript should be enabled in the browser.
Also Read: How to Import Large SQL file in phpMyAdmin?
What is XAMPP?
If you’ve ever been curious about the process of developing websites, you’ve undoubtedly heard of XAMPP. XAMPP is a free and open-source cross-platform web server solution stack package developed by Apache Friends.
In other words, XAMPP is an open-source program that makes it simple for you to begin web development. It consists mainly of Apache HTTP Server, MariaDB database, and interpreters for scripts written in PHP and Perl.
Also Read: How to Change Table Name in phpMyAdmin?
Steps to Install phpMyAdmin with XAMPP
All the components required for phpMyAdmin are included in programs like XAMPP, which also lets you set up an Apache web server.
Installing phpMyAdmin on Windows will be the simplest, with third-party software like Git or Docker. We will demonstrate how to use XAMPP to install phpMyAdmin.
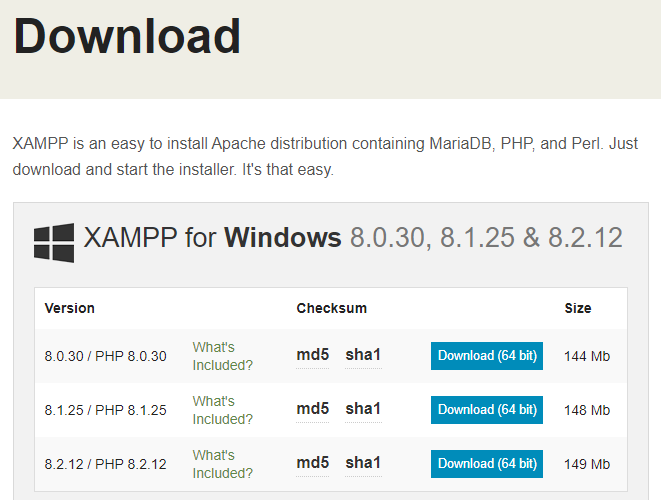
➔ Download and Install XAMPP: Visit the official Apache Friends website and download the latest version of XAMPP for Windows.
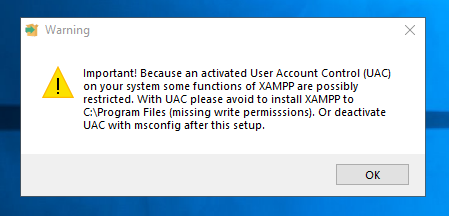
➔ Once the installation has been completed, you will see a warning message related to XAMPP Installation on the screen. You can ignore the message by clicking the ‘OK’ button.
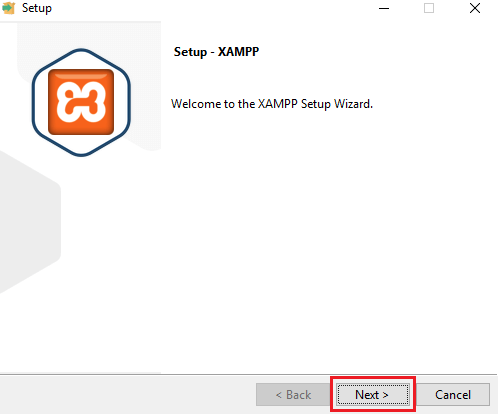
➔ After that, a setup window will appear for Installation. Start the setup by clicking the ‘Next’ button.
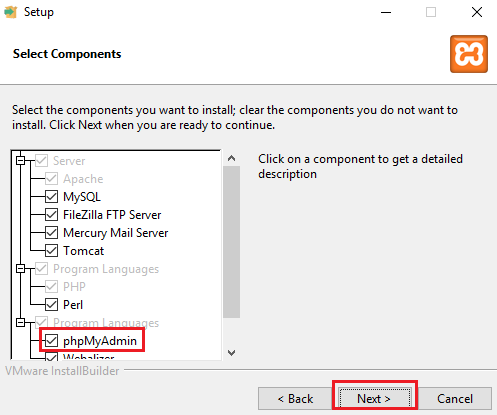
➔ Now, you will see all the components of the XAMPP in the window. Just make sure ‘phpMyAdmin’ is ticked with other components & click on the ‘Next’ button
➔ A screen will appear with the location where the XAMPP will be located. Without changing the location, click on the ‘Next’ button.

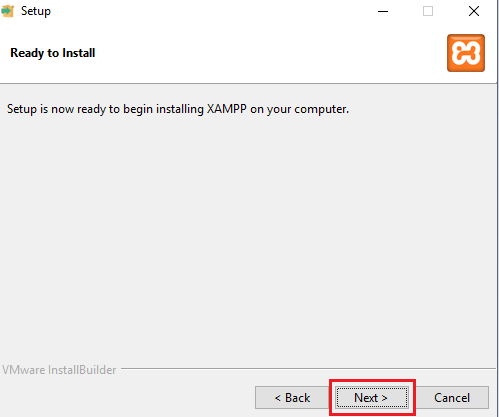
➔ Finally, you will receive a message on the screen regarding the beginning of the XAMPP Installation. Click on ‘Next’ to go forward.
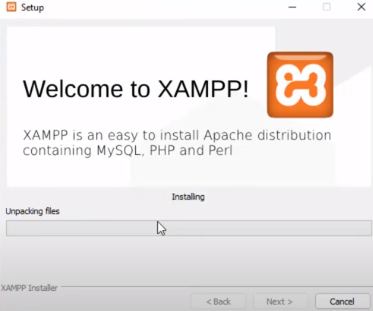
➔ It starts with installation. Give a little time to complete the installation.
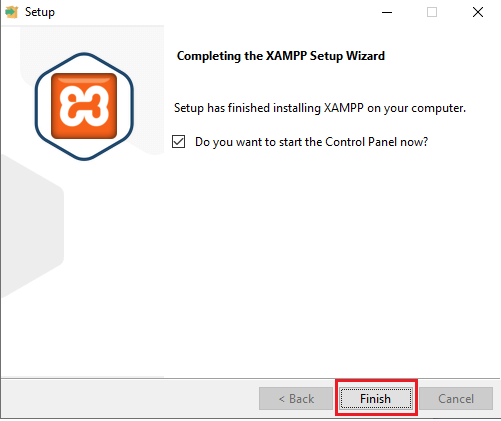
➔ Once the process is complete, you will receive the successful installation message. Just click on ‘Finish’ to start working on XAMPP.
➔ A screen will appear when it starts, as shown in the screenshot below.

➔ Firstly, you have to start the Apache server by clicking on the ‘Start’ button.

➔ Now, the error is highlighted with a Yellow mark over Apache. This is because port 80 has been assigned to something else on Windows 10. So, first, we have to resolve that.
(Note: This might not show you. In some cases, it is not assigned to other things.)
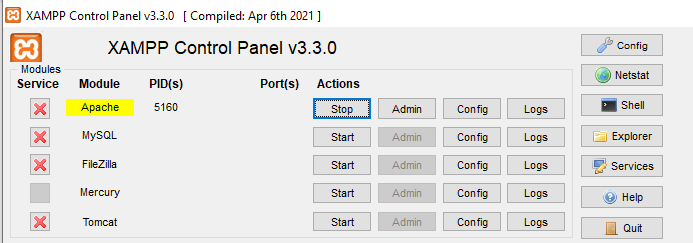
➔ To resolve this, firstly, stop the Apache action & click on the ‘Config’ option.
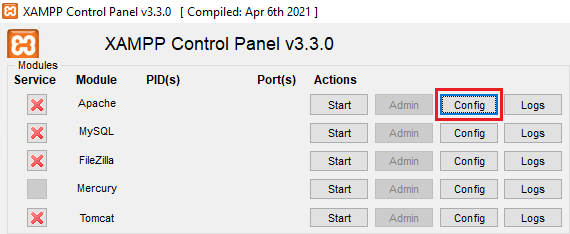
➔ In that, click the first option ‘Apache (httpd.conf)’
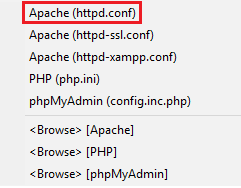
➔ After clicking, A notepad file will open in which you have to find the keyword ‘Listen.’
![]()
➔ In the place of port ‘80’, you have to change the port to anything else. For example, here we are changing the port to ‘8080’
![]()
➔ Once you have completed it, you must save the file and click the ‘Start’ button to begin the Apache Module.
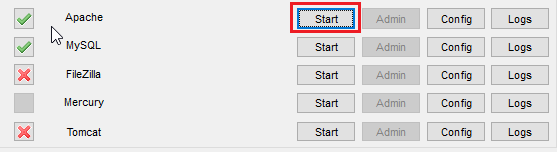
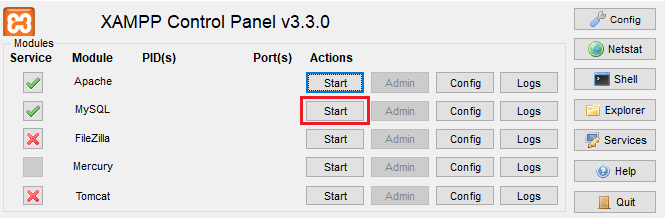
➔ After that, you have to start the ‘MySQL’ module for the phpMyAdmin.
➔ Download phpMyAdmin: After installing XAMPP, navigate to the phpMyAdmin website and download the latest version of phpMyAdmin.
➔ Move phpMyAdmin to XAMPP Directory: Extract the downloaded phpMyAdmin zip file and move the extracted folder to the “htdocs” directory within the XAMPP installation folder.
➔ Access phpMyAdmin: Open your web browser and type “localhost/phpmyadmin” in the address bar. You should now see the phpMyAdmin login page.
Also Read: How to Download SQL Database in cPanel?
Conclusion
Installing phpMyAdmin with XAMPP is straightforward and enhances the functionality of your local server environment. Following the steps outlined in this guide, you can easily set up phpMyAdmin to manage your MySQL databases efficiently.
Whether you’re a beginner or an experienced developer, having a local server environment with phpMyAdmin and XAMPP is invaluable for web development projects.